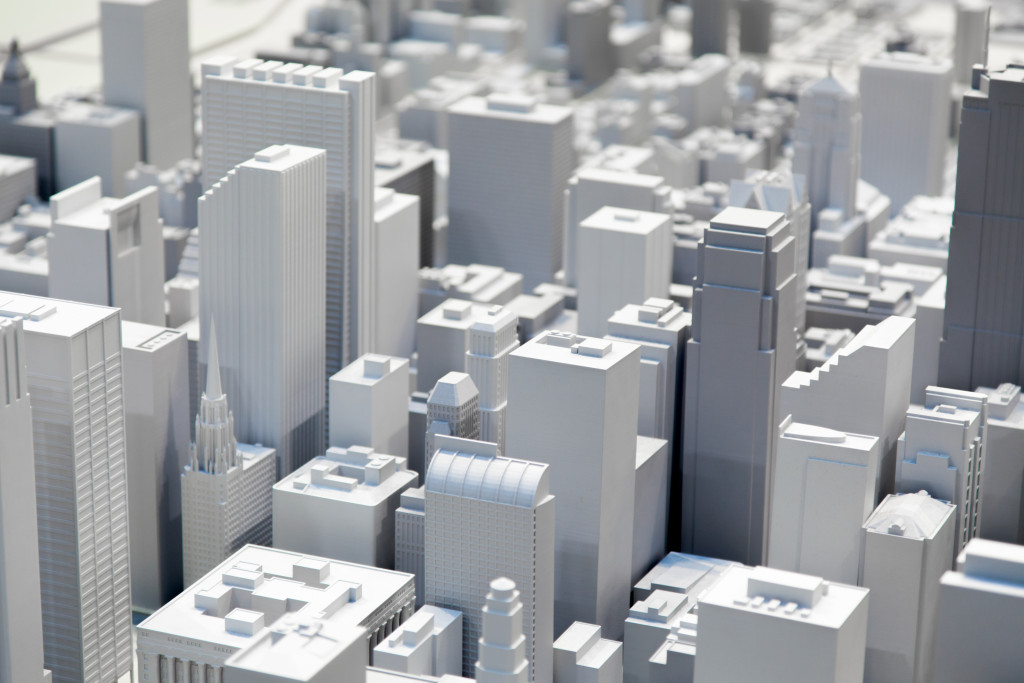
- Research and plan the miniature film set before building to ensure that all elements fit the available space.
- Invest in high-quality model scenery supplies for added realism and to bring your vision to life.
- Utilize foam care techniques such as carving and texturing for a lightweight yet durable base.
- Glue is an invaluable tool for providing strength and adaptability in a miniature film set.
- Add lights to create different moods throughout the set.
Creating a miniature film set is no easy feat. It requires great creativity, precision, and attention to detail. Unsurprisingly, it’s a cherished hobby for some, while others, such as professional set designers, make their living perfecting this art form. Whether you’re a seasoned pro or just starting, here are some tips and tricks that will help you create the perfect miniature film set.
Research and Planning
Before you start building, it’s essential to do your research. Look at still images of film sets to get a sense of your settings, or watch movies similar to the kind of set you’re creating to visualize the structure and layout.
Planning is crucial as well. Draw rough sketches of the set with the correct scale and ensure all the elements fit in the available space. Once you have a great plan, the next step is to gather your materials.
Furthermore, you should consider the type of lighting you’ll need for your set. Different lighting can create different moods, so it’s crucial to think about what kind of atmosphere you want in your miniature film set.

Invest in Model Scenery Supplies
Investing in high-quality model scenery supplies is essential for creating an aesthetically pleasing miniature film set. The supplies will add realism to the scene and help bring your vision to life. Furthermore, these supplies come in a variety of sizes and materials, so you can choose the perfect elements to make your set look just how you want it. Here are some examples:
Foam
Foam care is a critical part of creating a miniature film set. Foam board and insulation are two of the most popular materials used for making these sets, as they provide a lightweight yet durable base on which to build your set. Furthermore, they can easily be cut into shapes and manipulated into different textures. Foaming techniques such as carving and texturing require patience and skill, so practicing before attempting a complex design is advisable.
Boards
Boards such as plywood and MDF are great for adding extra structure to your miniature film set. They provide a sturdy base to build intricate sets while allowing for easy reshaping. Furthermore, they can be painted or stained to give the scene a unique look and feel.
Glue
The use of glue is an invaluable tool when crafting a miniature film set. Adhesives provide the strength and adaptability necessary to take a set design from concept to reality. There are a number of glues suitable for model scenery, including cyanoacrylate, epoxy resin, hot glue, and white glue. Each has its strengths and weaknesses, so choosing the suitable glue for your project is essential.
Painting and Light
Once you have your structure laid out, it’s time to cover it with a coat of paint or texture. Make sure you use the correct paint and color schemes to set the aesthetic tone, and always wait for the paint to dry before moving on to the following detail.
After the paint dries, it’s time to add lights to the scene. This puts the final touch on bringing your miniature set to life, and using small LEDs is an effective way to create the desired props’ brightness and shadow effects.
In some cases, you may also need to add tiny figures or objects to your set for realism. Spend time perfecting the placement of each detail because this will make a big difference in how convincing the final result looks.

Camera Angles
A miniature film set is not complete until it’s filmed, and this is where creativity and imagination come in. Film your set with various camera angles and photography lenses, move the camera around to establish different perspectives, and choose the right composition for a perfect shot. Here are some practical ways to use camera angles for miniature film sets:
Close-up Shots
Close-up shots are a great way to capture the intricate details of a miniature film set. By getting close to the set, viewers can appreciate each minute aspect and understand the amount of work put into the creation process. You can create impressive depth-of-field effects using special lenses and angles, further enhancing the realism of miniature film sets.
Mid-Range Shots
Mid-range shots are perfect for capturing the overall layout of a miniature film set. They allow viewers to appreciate the full scale of the set and take in all its features at once. Additionally, mid-range shots create a great sense of depth, allowing you to emphasize certain elements and draw attention to important details.
Aerial Shots
Aerial shots are a great way to bring the entire miniature film set together. Viewers can appreciate the full scale of your creation using aerial shots while retaining detail. Aerial shots provide an overall perspective and offer creative freedom to move the camera around and add cinematic depth.
Making a miniature film set requires patience and trial and error to create an impressive and believable environment. It might take time and effort, but with suitable materials, planning, attention to detail, and creativity, you can craft an excellent set that reflects your passion and imagination. With these pointers and a bit of practice, you can create your masterpiece and showcase your artistic skills to the world.

